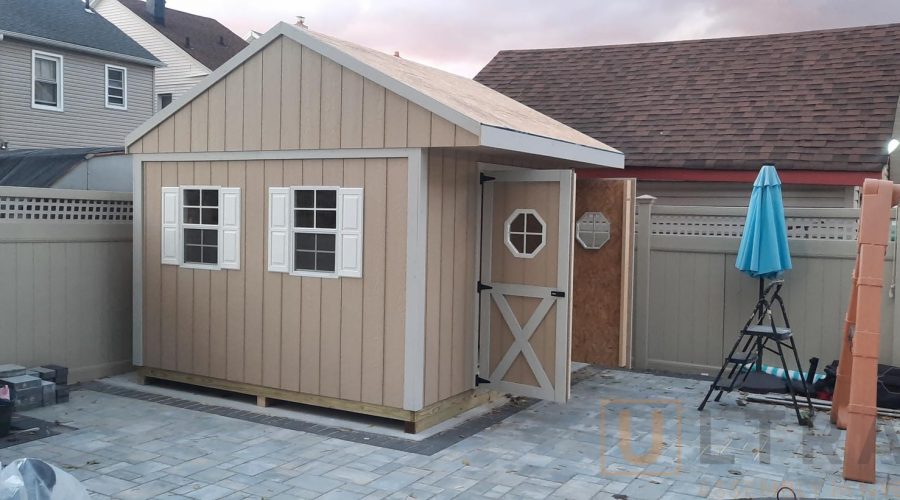
Everything you need to know about building a wooden storage shed
A wooden garden shed is simple to install and, once completed, may give much-needed storage space, a place for handicrafts, or a peaceful spot to relax and enjoy your garden. Follow our straightforward directions, and we will teach you how to construct a wooden shed that will survive for years to come.
Main things to consider before building a shed
You must first complete the following three tasks before you can even begin to make plans for putting up a wooden shed:
- Make sure you have a solid foundation.
- Make sure all of your components are in working order.
- Check that you have all of the necessary tools, as well as a minimum of one other individual to help you.
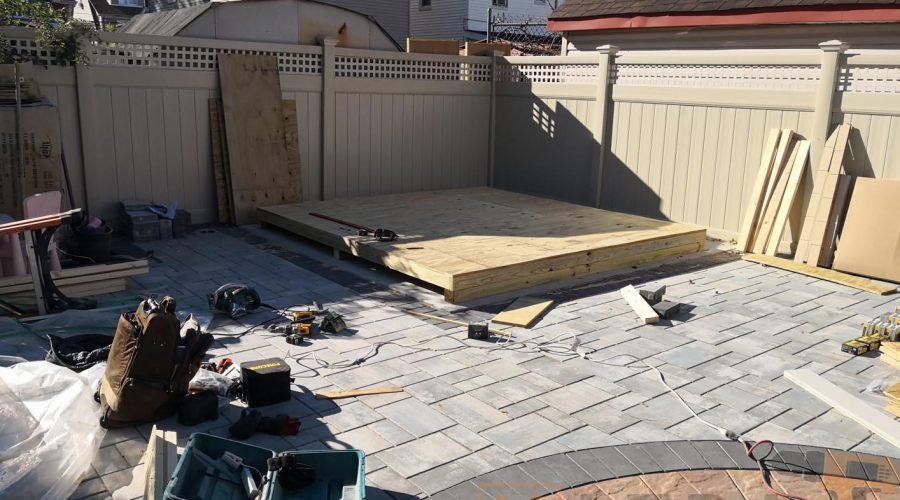
You must establish a sturdy and level foundation for your shed before you begin construction. A suitable long-lasting material, such as cement or paving slabs, must be used to construct this structure.
It is critical that you double-check that you get all of the necessary components to finish the assembly. When your shed is delivered, you will be provided with a component list, which will enable you to compare the components you have got to the ones you should have received. In most cases, a wooden shed will be made up of panels for the four walls, the floor, the roof, as well as felt and fittings.
The last step in preparing for the installation of your structure is to make certain that you have all of the tools you will need on hand. You will need the following items in order to assemble a wooden shed:
- Safety gloves or other relevant personal protective equipment.
- Screw wrench and a hammer.
- Stepladder.
- Water level.
- Tape-line.
As a matter of safety, we recommend that shed assembly should be performed by at least two individuals, one to hold the elements in position and another to nail or bolt the components into place. If you have examined and arranged everything that is needed for the construction, you are prepared to start assembling your shed.

Step 1: Place the floor panel in the right position
Place the floor panels in the appropriate location and make sure that the floor is level before continuing. In the case of a not-level floor, it may be necessary to pack additional blocks beneath the bearers in order to level out the foundation. Check the floor’s squareness by taking a diagonal measurement from one corner to the other. There should be no difference in diagonal measurements between each other.
Step 2: Set the gables and sides in their final positions and secure them
Place one gable end panel on the one end of the floor panel. As a next step, place a sidewall panel against the gable and attach it in place with the nails. It’s best to nail the gables from the inside, rather than nailing from the outside. The gable panel should be secured to the side panel using coach screws from the outside, via the pre-drilled holes.
It is now necessary to position the second gable panel in its proper location and fasten it to the side panel that has just been installed. Once again, make use of the nails and coach screws that were given. Then, position your last side wall panel and fasten it with nails and coach screws, just as you did with the other panels.
Secure the wall panels to the floor using the twice larger nails that were given when you have completed the installation of all of your wall panels and are confident that they are square. The base rails of the side and gable panels, as well as the floorboards, must all be nailed through to the floor joists/bearers below in order for the work to be completed.
Place the floor panel in the right position

Step 3: Place the roof panels and secure them in place
Assemble the roof panels and fasten them to one another using the large nails that have been included in the package. Some panels may need to be pulled together at their apex before they can be joined together with nails. After that, using small and large nails that were supplied, attach the roof to the gables and side frame.
Step 4: Felt the roofing material
When you have determined how many lengths of felt you’ll need, cut the felt that you have gotten, if necessary, and roll it out along the bottom portion of one side of the roof. Allow enough overhang to fold into the roof framework. Using the clout nails that were supplied, attach the felt along the top edge. This procedure should be repeated on the opposite roof side.
Step 5: Bargeboard and finials installation
Attach the bargeboards to the roofing sheets, ensuring that the overhanging side of the felt is trapped in between the two panels to create a weather seal. Secure the finials at the apex to the bargeboards when you are satisfied with their location.
Step 6: Install and seal the window
Insert the glass into the frame and fix it in place utilizing panel pins that are included. As a precaution against scratching the windows, you should carefully hammer the pins into their respective frames. A sealant will be needed to guarantee that your windows are waterproof once they have been installed. In order to do this, use an appropriate product such as sealant, mastic, putty, or other similar material, as well as your preference of beading to strengthen the panes if desired.
Step 7: Place the corner strips
To complete the assembly, use the smaller nails that were supplied to fasten the corner strips to the external corners of the wooden shed in the place where the panels connect. It is possible that they will need to be trimmed to fit. The final touch is to add water protection and preserve your wooden storage shed from the inside out using an appropriate waterproofing preservative.


