Assembly and installation of a wooden storage shed
As we approached the next order for the installation of a wooden storage shed, we understood that things would not be as straightforward as they had been in the past. For around 2-3 weeks, all of the boxes and other elements of the shed were left outdoors in the open air. Several times throughout this period, it rained on them. The wood alters its form dramatically when it is exposed to wetness, as you are probably well aware. But we weren’t going to give up, so we began unpacking the components. Much of the structure parts bent, and some of them were absolutely crooked, as was intended.
Our recommendation:
- if you purchase a shed without installation, make sure to keep the kit inside before assembly;
- before you begin installing the shed, think about where it will be placed when it is completed (it is important to have solid and even ground under it).
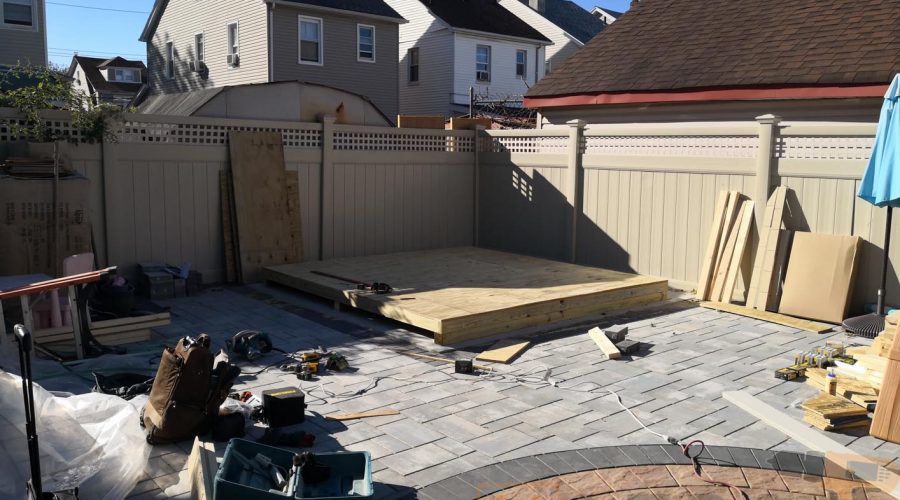
Fortunately, the customer had a concrete foundation constructed, which is an excellent thing.
Assembly of the shed’s foundation
Following the sorting out of the boxes and the inspection of the whole set of elements for the shed, we began constructing a wooden basis (foundation) out of 3 large beams and 12 little ones that were connected in the shape of a lattice. It was critical to maintaining the straightness of all of the foundation’s corners in order to have a perfectly square foundation. Moreover, in addition to ensuring that the corners are square, it is necessary to level the foundation.
Shed flooring
On top of the completed foundation, we laid plywood flooring. We cut the plywood sheets into squares and laid them out in a checkerboard pattern, similar to that of ceramic tiles, to reinforce and add strength to the structure. Then we nailed them to the foundation to secure them in place.
Putting together the shed’s walls
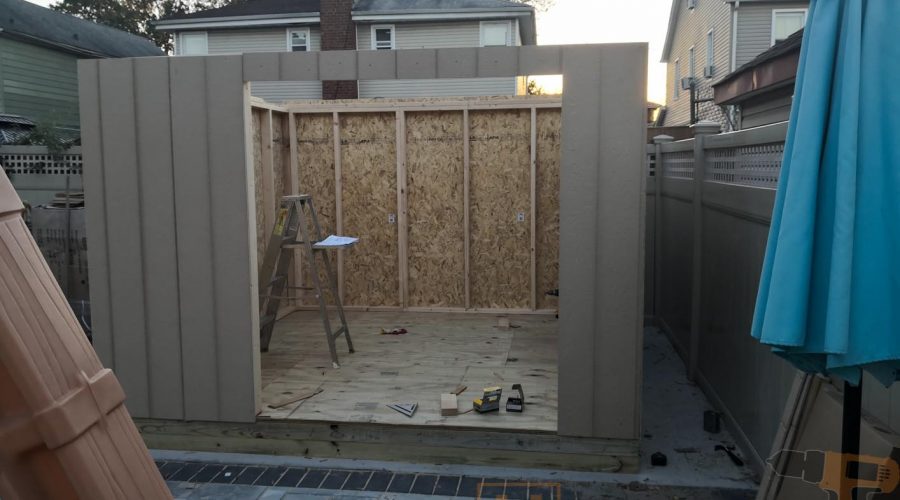
When the foundation and floor were completed, we began putting together the walls of the shed to complete it. Having to deal with the walls was the most challenging element of the project since exactly these parts were the most affected by moisture. A lot of time was spent with a planer and chisels to adjust (level) the walls and achieve flawlessly flat surfaces.
The walls were built starting with the rear one. And then we connected the left and right sides to the structure. The front wall was the last to be assembled since it is divided into two sections by the entryway. At this point, the framework for the shed had been completed.
Construction and installation of a shed roof
The last and most essential step was the installation of the roof, which started shortly after. We started by putting together 6 lags. These are triangle roof bases. 9 beams were delivered in the kit for each of them, all of which were left unmarked. The first triangle was built initially, and it served as a reference for all subsequent triangles in order to ensure that all lags were of the same size and formed the same angle.
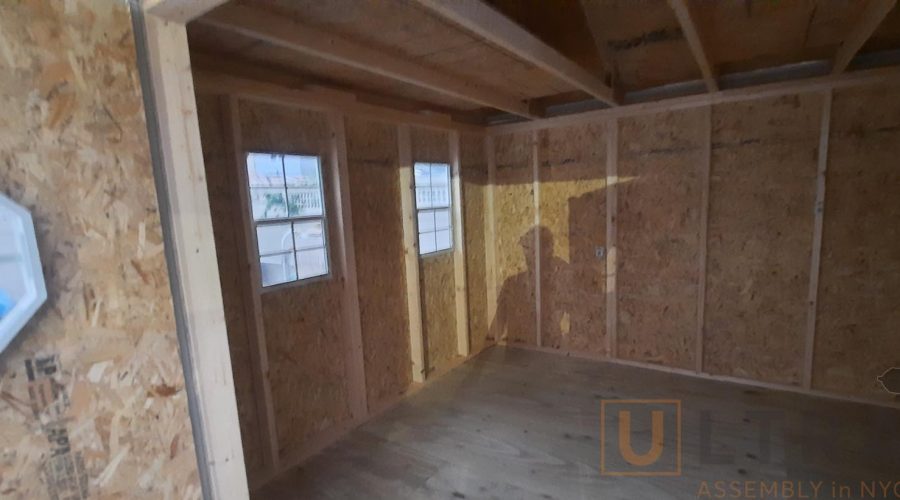
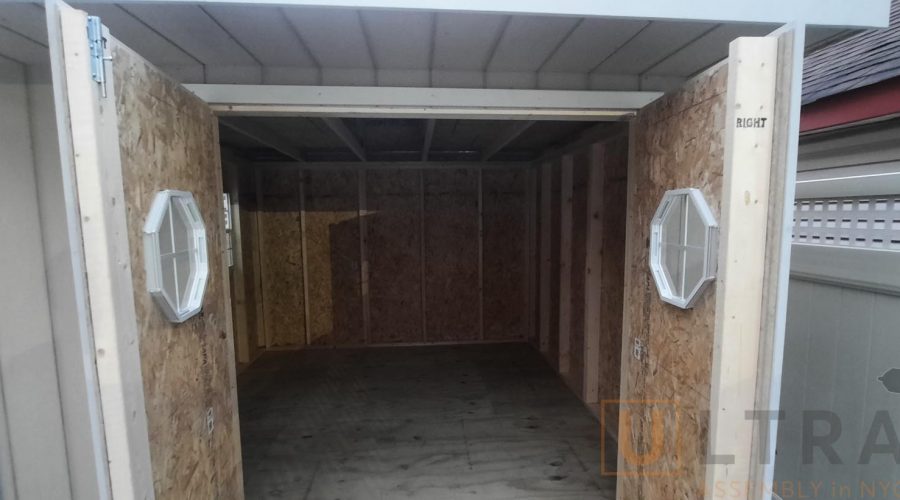
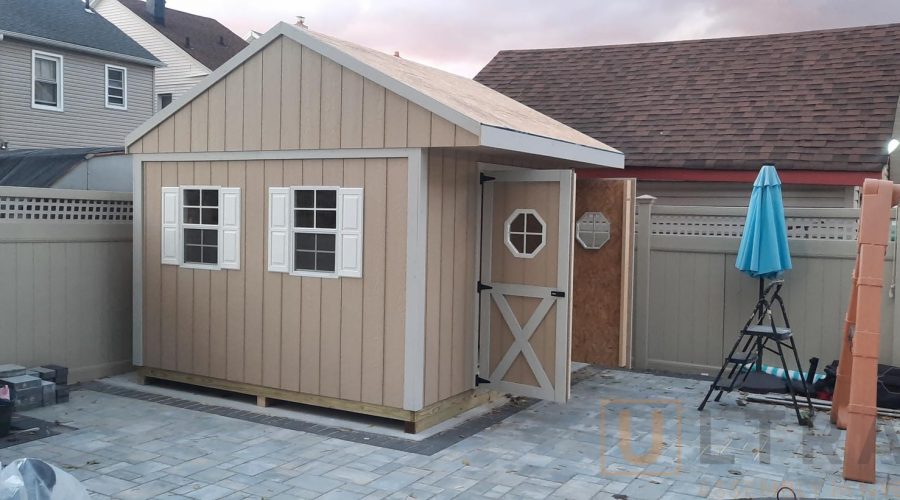
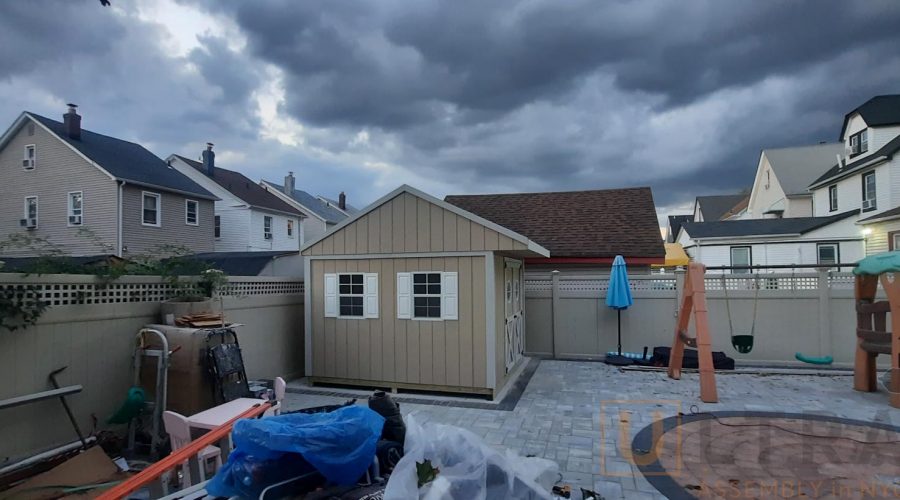
However, even with this creativity, the work was not simple, since the roof assembly is the most arduous part of the construction process. The last step included installing doors and windows, which required us to cut openings. The shed was completed after they were installed.
Bottom line
In contrast to the apparent ease of installation, the shed’s assembly was not as straightforward. It required around 8 hours of labor from two skilled assemblers and a vast collection of tools to complete. Therefore, if you prefer to assemble the shed yourself, we have created step-by-step instructions for installing a shed (link). Please keep in mind that it will take at least twice as long to construct the shed as it is stated in the manual.

